 English
  中文简体
中文简体

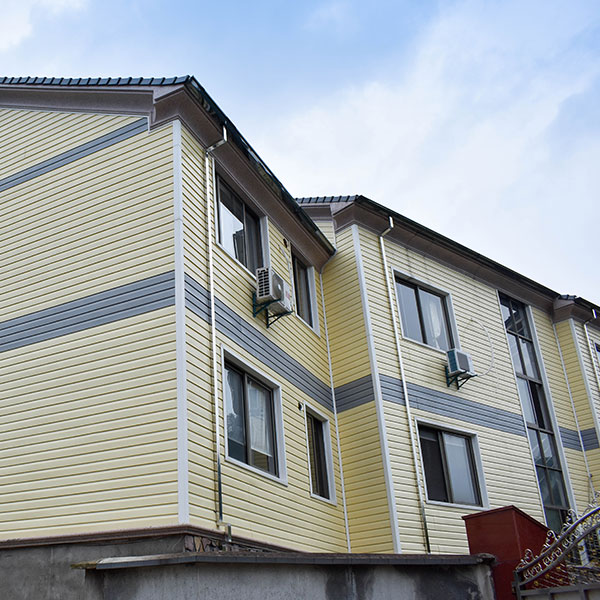
We are professional China Custom Vinyl Fence Manufacturers with fences virgin PVC/Vinyl material and UV Protected.
Content
Cleaning a plastic fence requires nothing more than mild soap, water, and a soft brush or cloth. For most dirt and grime, mix a solution of dish soap with warm water, scrub the fence panels thoroughly, then rinse with a garden hose. This simple approach restores your fence's appearance in under an hour for an average 50-foot section.
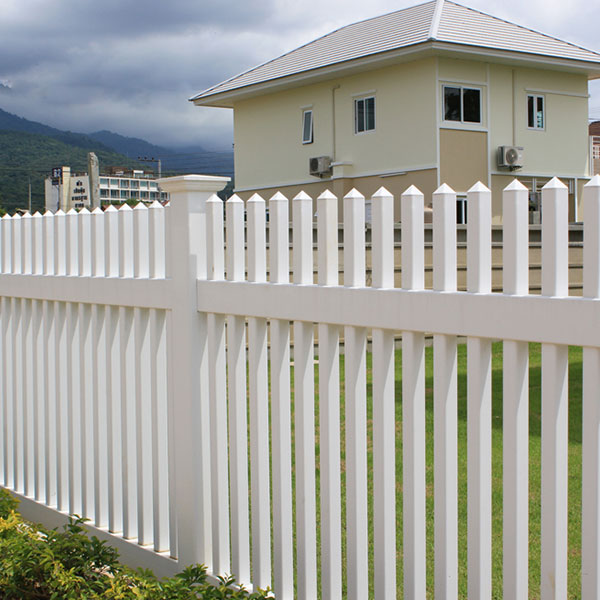
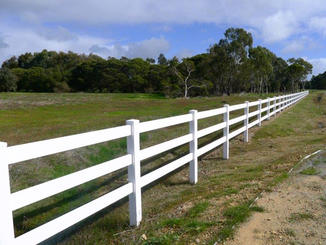
Plastic fencing, whether vinyl PVC or composite materials, accumulates dirt, pollen, algae, and oxidation over time. Unlike wood, plastic won't rot, but it still needs regular maintenance to prevent permanent staining and maintain its curb appeal. The cleaning method you choose depends on the level of soiling and the type of stains present.
Basic Cleaning for Light Dirt and Dust
For routine maintenance and light surface dirt, a basic wash is sufficient. This method works well for fences cleaned at least twice annually and keeps them looking fresh without harsh chemicals.
What You'll Need
- Garden hose with spray nozzle
- Bucket of warm water
- 2-3 tablespoons of liquid dish soap or mild detergent
- Soft-bristle brush or non-abrasive sponge
- Clean microfiber cloths for drying (optional)
Step-by-Step Process
- Rinse the entire fence with your garden hose to remove loose debris, leaves, and surface dust
- Mix the soap solution in your bucket until it creates light suds
- Starting from the top of each panel, apply the soapy water with your brush or sponge
- Scrub in circular motions, paying attention to textured areas where dirt collects
- Rinse each section thoroughly before the soap dries to prevent streaking
- Allow the fence to air dry or wipe down with clean cloths for an immediate polished look
Time required: 30-60 minutes for a 50-foot fence section, depending on height and detail. This method typically removes 85-90% of common outdoor grime without damaging the plastic surface.
Removing Mold, Mildew, and Algae
Green or black stains on plastic fencing are usually mold, mildew, or algae growth, particularly common in shaded areas or humid climates. These organic growths require stronger cleaning solutions but respond well to proper treatment.
Vinegar Solution Method
White vinegar is a natural, eco-friendly option that kills mold spores without harsh chemicals. Mix one part white vinegar to three parts water in a spray bottle or bucket. Spray or apply generously to affected areas and let sit for 10-15 minutes before scrubbing with a soft brush. The acetic acid in vinegar breaks down mold structure, making it easy to remove.
Bleach Solution for Stubborn Growth
For severe mold or mildew, a diluted bleach solution provides stronger cleaning power. Mix 1/3 cup household bleach per gallon of water. Apply with a sprayer or sponge, allow 5-10 minutes of contact time, then scrub and rinse thoroughly. Always test on an inconspicuous area first, as some colored vinyl may lighten with bleach exposure.
| Cleaning Agent | Dilution Ratio | Contact Time | Best For |
|---|---|---|---|
| White Vinegar | 1:3 (vinegar:water) | 10-15 minutes | Light to moderate mold |
| Household Bleach | 1/3 cup per gallon | 5-10 minutes | Severe mold/mildew |
| Oxygen Bleach | Follow package directions | 15-20 minutes | Color-safe deep cleaning |
| Dish Soap | 2-3 tbsp per gallon | Immediate scrubbing | General dirt/grime |
Important safety note: Never mix vinegar and bleach together, as this creates toxic chlorine gas. Use one solution or the other, and rinse completely between applications if switching methods.
Pressure Washing Techniques
A pressure washer can dramatically reduce cleaning time and effort, completing an entire fence in 20-30 minutes versus the hour or more required for hand scrubbing. However, improper use can damage plastic fencing, causing surface etching or even cracking brittle vinyl.
Correct Pressure Settings
Use a pressure washer set to 1,300-1,600 PSI maximum for vinyl fencing. Higher pressures risk damaging the material, especially on older or sun-weathered fences. Select a 25-degree or 40-degree nozzle tip for wider spray patterns that distribute pressure more evenly.
Application Best Practices
- Hold the nozzle 12-18 inches from the fence surface at all times
- Keep the spray moving in steady, sweeping motions to avoid concentrated pressure on one spot
- Spray at a slight downward angle to prevent water from getting behind panels
- Work from top to bottom, allowing dirty water to flow down and away
- Test on a hidden section first to ensure your pressure setting is safe
For added cleaning power, apply a vinyl fence cleaning solution or soapy water before pressure washing, let it sit for 5 minutes, then rinse with the pressure washer. This pre-treatment loosens stubborn grime for more effective removal.
Tackling Tough Stains and Discoloration
Certain stains require specialized approaches beyond general cleaning. Rust, grease, paint overspray, and oxidation each respond to different treatments.
Rust Stains
Rust marks often appear below metal fence hardware or from sprinkler water with high iron content. Apply a commercial rust remover designed for plastic surfaces, or create a paste from cream of tartar and hydrogen peroxide. Spread on the stain, let sit for 30 minutes, then scrub and rinse. For persistent rust, lemon juice's citric acid can help break down iron oxide deposits.
Grease and Oil
Grease from nearby grills or automotive work requires a degreasing agent. Apply a concentrated dish soap like Dawn directly to the stain, let it penetrate for 10 minutes, then scrub with a stiff brush. For stubborn grease, mineral spirits on a cloth can dissolve the oil, but rinse immediately and thoroughly to prevent plastic degradation.
Oxidation and Chalking
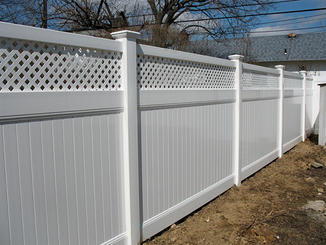
White vinyl fences often develop a chalky, faded appearance from UV exposure, called oxidation. While cleaning won't reverse this chemical change, it removes the powdery surface layer. Use a vinyl restoration product containing polymers that fill microscopic surface pits and restore shine. Automotive vinyl protectants with UV inhibitors can prevent future oxidation when applied after cleaning, extending the fence's appearance by 2-3 years according to manufacturer testing.
Paint and Spray Paint
Fresh paint wipes off easily with mineral spirits or rubbing alcohol. For dried paint, use a plastic scraper to gently lift paint without scratching, then apply a paint remover formulated for plastic surfaces. Test any solvent on a hidden area first, as some can soften or discolor vinyl.
What to Avoid When Cleaning Plastic Fences
Certain cleaning methods and products can permanently damage plastic fencing, voiding warranties and requiring costly panel replacement.
- Abrasive scrubbers: Steel wool, scouring pads, and stiff wire brushes scratch plastic surfaces, creating grooves that trap dirt and accelerate future soiling
- Solvent-based cleaners: Acetone, paint thinner, and similar solvents can dissolve or warp vinyl, causing permanent surface damage
- Undiluted bleach: Full-strength bleach can discolor vinyl, particularly darker colors, and weakens the plastic structure over time
- Excessive pressure washing: Pressures above 2,000 PSI or holding the nozzle too close can etch surfaces, force water behind panels, or crack vinyl
- Petroleum-based products: Oil-based cleaners and treatments can leave residue that attracts dirt and causes discoloration
- Organic solvents: Products containing methylene chloride or methyl ethyl ketone (MEK) degrade vinyl's molecular structure
Most vinyl fence manufacturers specifically prohibit these products in their care instructions, and damage from improper cleaning typically voids product warranties that otherwise cover 20-30 years.
Maintenance Schedule for Long-Term Results
Regular cleaning prevents buildup that becomes progressively harder to remove. A consistent maintenance schedule keeps your plastic fence looking new with minimal effort.
Recommended Cleaning Frequency
- Spring deep clean: Complete wash with soap and water after winter weather, removing accumulated grime and checking for damage
- Fall maintenance: Pre-winter cleaning removes organic debris and mold before cold weather sets in
- Monthly spot cleaning: Address visible stains, mold spots, or heavy dirt accumulation as they appear
- Post-storm rinse: Hose down the fence after heavy rain or wind to prevent mud and debris from setting
Fences in shaded, humid locations or near vegetation may require more frequent cleaning—potentially every 2-3 months—to control mold and algae growth. Conversely, fences in dry, sunny areas with good airflow may need only annual deep cleaning.
Protective Treatments
After cleaning, consider applying a vinyl protectant spray formulated for outdoor plastic. These products create a protective barrier that repels dirt and water while blocking UV rays. Application 1-2 times per year can reduce cleaning frequency by up to 40% and slow oxidation, according to vinyl fence industry studies.
Cost-Effective Cleaning Solutions
Professional fence cleaning services typically charge $150-$400 for an average residential fence, but DIY cleaning costs under $20 in materials for comparable results.
| Cleaning Method | Material Cost | Time Investment | Effectiveness |
|---|---|---|---|
| Soap and Water (DIY) | $5-$10 | 60-90 minutes | Good for light dirt |
| Vinegar Solution (DIY) | $3-$5 | 45-75 minutes | Excellent for mold |
| Pressure Washing (DIY) | $15-$20 | 20-30 minutes | Excellent for all dirt |
| Commercial Cleaner (DIY) | $12-$25 | 30-45 minutes | Excellent for tough stains |
| Professional Service | $150-$400 | 0 minutes (your time) | Excellent overall |
The most economical approach combines vinegar or soap for regular maintenance with occasional pressure washing rentals (typically $50-$100 per day) for annual deep cleaning. This hybrid method provides professional-level results for approximately $30-$50 per year in total costs.
