 English
  中文简体
中文简体

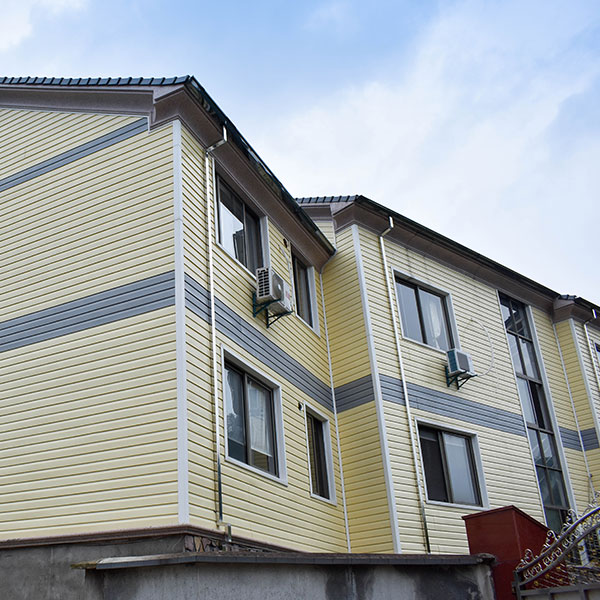
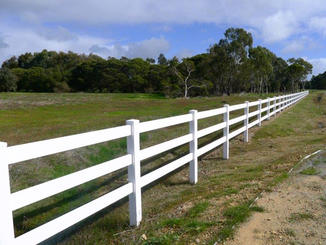
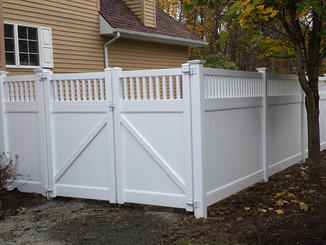
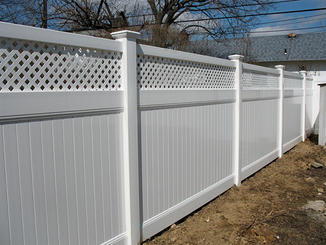
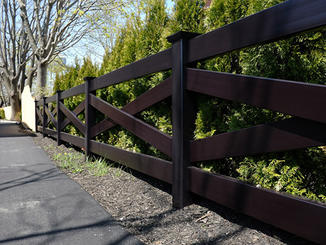
We are professional China Custom Vinyl Fence Manufacturers with fences virgin PVC/Vinyl material and UV Protected.
Content
- 1 The Best Way to Cut Vinyl Fence Panels
- 2 Essential Tools for Cutting Vinyl Fence Panels
- 3 Step-by-Step Cutting Process
- 4 Temperature Considerations When Cutting Vinyl
- 5 Cutting Different Types of Vinyl Fence Components
- 6 Common Mistakes to Avoid
- 7 Safety Precautions
- 8 Special Cutting Techniques for Specific Situations
- 9 Blade Maintenance and Replacement
- 10 Cost Considerations and Tool Investment
- 11 Troubleshooting Common Cutting Problems
The Best Way to Cut Vinyl Fence Panels
Cutting vinyl fence panels requires the right tools and technique to achieve clean, professional results. The most effective method is using a circular saw with a fine-toothed blade (60+ teeth) or a miter saw, cutting with the finished side facing up to prevent chipping. For smaller cuts or curved edges, a handsaw or reciprocating saw works well. The key is supporting the panel properly, marking your cut line clearly, and cutting slowly to avoid melting the vinyl from friction heat.
Whether you're installing a new fence, making repairs, or customizing panels to fit uneven terrain, understanding the proper cutting techniques will save you time and material waste. This guide covers everything from tool selection to finishing touches.
Essential Tools for Cutting Vinyl Fence Panels
Selecting the appropriate tools makes the difference between a clean cut and a jagged, melted edge. Different cutting scenarios require different equipment.
Power Tools
- Circular Saw: The most versatile option for straight cuts on fence panels, rails, and posts. Use a 60-80 tooth carbide-tipped blade designed for plastics or fine finish work. A 7.25-inch saw provides enough cutting depth for most vinyl fence components.
- Miter Saw: Ideal for making angled cuts and repetitive cuts at the same length. A 10-inch or 12-inch sliding compound miter saw handles wider panels and provides excellent precision for corner posts and decorative tops.
- Reciprocating Saw: Best for demolition work, curved cuts, or trimming installed panels. Less precise than circular or miter saws but more maneuverable in tight spaces.
- Jigsaw: Perfect for cutting curves, circles, or intricate patterns in vinyl panels. Use a fine-toothed blade (10-12 TPI) and cut on a slow speed setting.
Hand Tools
- Fine-Tooth Handsaw: A manual option for occasional cuts or when power isn't available. Choose a saw with at least 12-14 teeth per inch for smooth cuts.
- Hacksaw: Works well for cutting vinyl fence posts and smaller pickets. The narrow blade allows for detailed work.
- Utility Knife: Useful for scoring thin vinyl panels or trimming edges after cutting. Requires multiple passes to cut through thicker materials.
| Tool | Best For | Blade Type | Skill Level |
|---|---|---|---|
| Circular Saw | Straight cuts, panels | 60-80 tooth carbide | Intermediate |
| Miter Saw | Angled cuts, posts | 60-80 tooth carbide | Beginner-Friendly |
| Jigsaw | Curves, patterns | 10-12 TPI fine tooth | Intermediate |
| Handsaw | Small jobs, no power | 12-14 TPI | Beginner |
Step-by-Step Cutting Process
Following a systematic approach ensures accurate cuts and minimizes the risk of damaging your vinyl panels. These steps apply whether you're using a circular saw, miter saw, or handsaw.
Preparation and Measurement
- Measure twice, cut once: Use a tape measure to determine the exact length needed. Mark the measurement point with a pencil on both edges of the panel.
- Create a cutting guide: Use a straightedge or carpenter's square to draw a clear line connecting your measurement marks. For longer panels, a chalk line or aluminum straightedge works well.
- Support the panel properly: Place the panel on sawhorses or a stable work surface. Ensure both the piece you're keeping and the cutoff are supported to prevent binding or breaking during the cut.
- Position the finished side up: When using a circular saw, the blade cuts on the upward stroke, so place the good side facing up to minimize chipping on the visible surface.
Making the Cut
- Set the blade depth: Adjust your saw blade to extend approximately 1/4 inch below the panel thickness. This reduces chipping and improves control.
- Start the cut slowly: Allow the saw to reach full speed before contacting the vinyl. Begin at one edge and move steadily along your marked line.
- Maintain consistent pressure: Let the saw do the work—pushing too hard generates friction heat that can melt the vinyl. A cutting speed of approximately 3-4 inches per second works well for most panels.
- Complete the cut: Continue through to the end without stopping mid-cut, as pausing can create burn marks or uneven edges.
Finishing Touches
After cutting, inspect the edge for any rough spots or burrs. Use 120-grit sandpaper or a fine file to smooth any imperfections. Sand lightly in one direction to avoid creating visible scratches. For hollow panels, check that the cut edge is square and clean—you may need to remove small plastic strings or fragments left by the saw.
Temperature Considerations When Cutting Vinyl
Vinyl fence material expands and contracts with temperature changes, which significantly affects cutting accuracy and quality. The ideal temperature range for cutting vinyl is between 60°F and 80°F (15°C to 27°C).
Cold Weather Cutting
When temperatures drop below 50°F (10°C), vinyl becomes brittle and more prone to cracking or shattering during cutting. If you must cut in cold conditions, store panels indoors for at least 24 hours before cutting. Cut more slowly and use sharper blades to reduce vibration. In temperatures below 40°F (4°C), consider postponing the work or using a heated workspace.
Hot Weather Cutting
Above 85°F (29°C), vinyl becomes more flexible and can melt easily from blade friction. Work in shaded areas when possible and cut even more slowly to minimize heat buildup. Some installers spray the blade path with water to keep the material cool during cutting. Never cut vinyl that has been sitting in direct sunlight for extended periods—allow it to cool in shade for 30-60 minutes first.
Cutting Different Types of Vinyl Fence Components
Not all vinyl fence parts are created equal. Each component has unique characteristics that require specific cutting approaches.
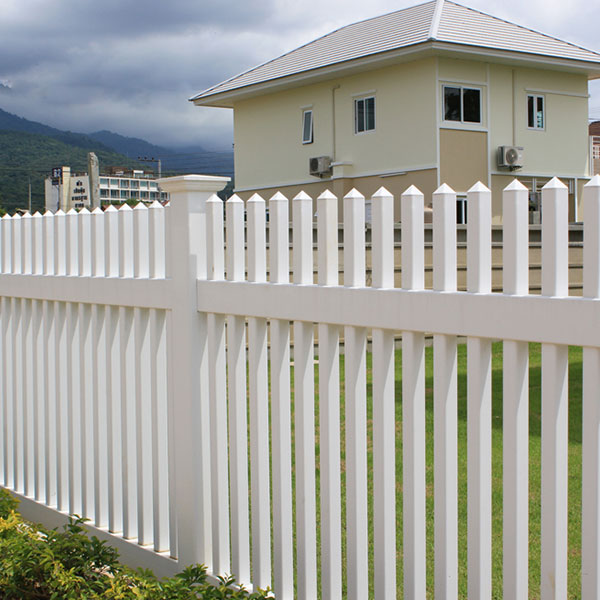
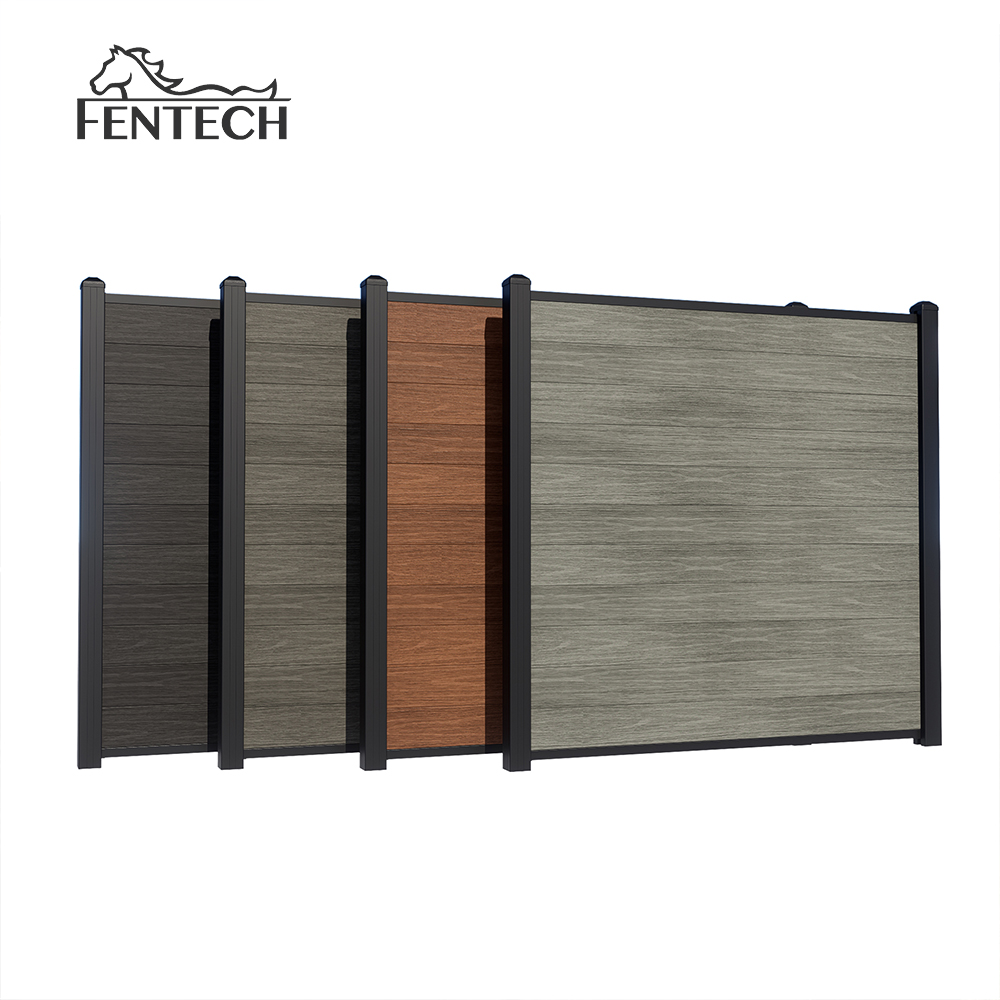
Fence Panels and Pickets
Standard privacy or semi-privacy panels typically measure 6-8 feet in height and contain hollow chambers for reinforcement. When cutting these panels to width, measure from both rails to ensure square cuts. For height adjustments, cut individual pickets rather than cutting across the entire assembled panel—this maintains structural integrity and appearance. Individual pickets should be cut one at a time using a miter saw or circular saw with a stop block for consistent length.
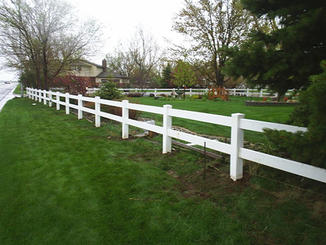
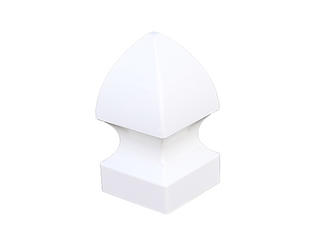
Posts
Vinyl fence posts come in square or round profiles, typically 4x4 or 5x5 inches. These require special attention because they're hollow with thin walls. Support the post from inside using a wooden block or rolled newspaper to prevent crushing during cutting. A miter saw works best for clean, square cuts. Mark all four sides and rotate the post as you cut to ensure evenness. Always cut posts 2-3 inches longer than needed initially, then trim to final height after installation to account for ground variations.
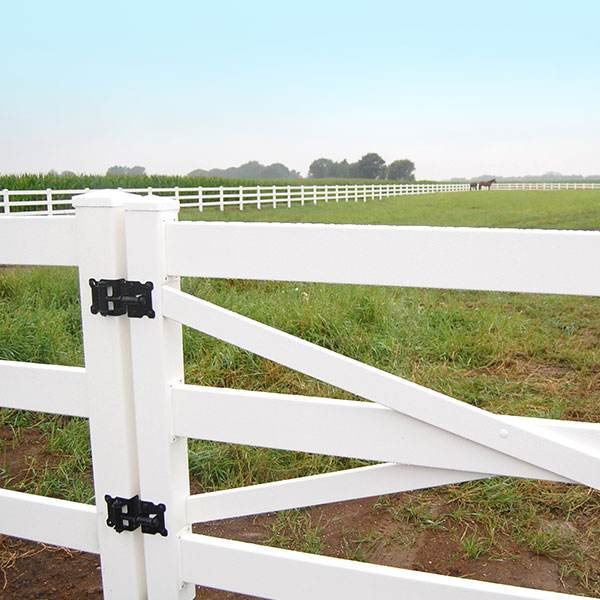
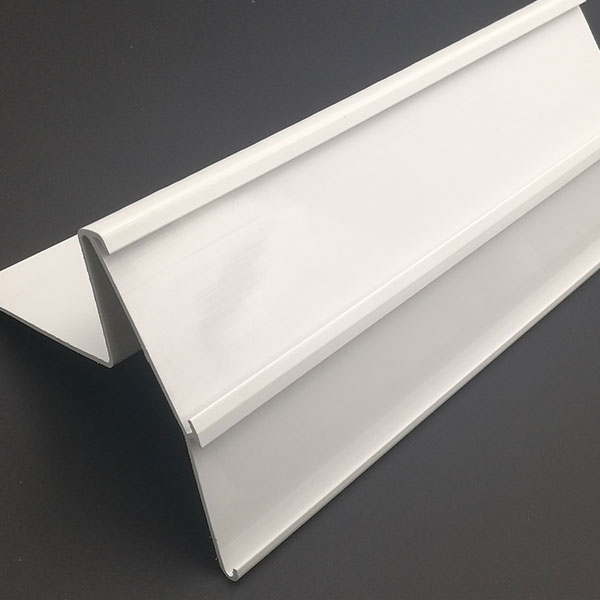
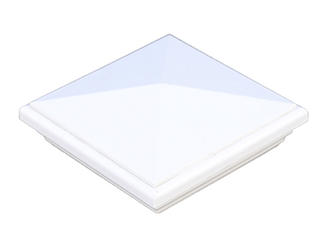
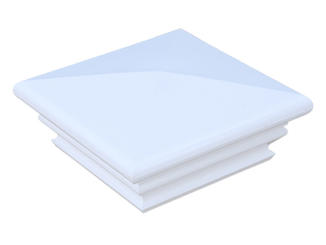
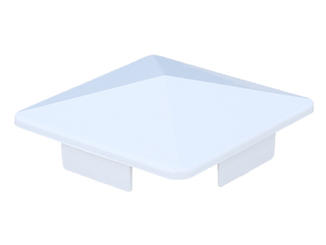
Rails and Top Caps
Horizontal rails typically have a routed or channeled design to accept pickets. When cutting rails, ensure cuts are square so they fit properly into post openings. Measure the exact distance between post channels before cutting—rails that are too long won't seat properly, while short rails create gaps. Top caps and decorative elements often require 45-degree angle cuts for corner connections, making a miter saw essential for these components.
Common Mistakes to Avoid
Learning from common errors saves both time and materials during vinyl fence installation projects.
- Using the wrong blade: Standard wood-cutting blades with large teeth (24-40 teeth) create rough, chipped edges on vinyl. Research from fence installation professionals shows that blades with 60+ teeth reduce edge chipping by approximately 75% compared to standard blades.
- Cutting too fast: Rushing creates friction heat that melts vinyl, resulting in rough edges and potential warping. A cutting speed of 3-4 inches per second provides the best balance between efficiency and quality.
- Inadequate support: Allowing cut pieces to fall freely creates dangerous kickback and jagged edges. Always support both sides of the cut with sawhorses or an assistant.
- Ignoring expansion gaps: Vinyl expands up to 1/4 inch per 8-foot section in temperature extremes. When cutting panels to fit between posts, leave 1/4 to 3/8 inch gaps on each end to prevent buckling.
- Measuring from the wrong end: Always measure from the same reference point (typically the factory-finished end) to maintain consistency across multiple cuts.
- Forgetting safety equipment: Vinyl particles can irritate eyes and lungs. Always wear safety glasses and a dust mask. Ear protection is recommended when using power saws for extended periods.
Safety Precautions
Proper safety measures protect you from injury and ensure better cutting results. Follow these essential guidelines whenever cutting vinyl fence materials.
Personal Protective Equipment
- Safety glasses or goggles: Vinyl chips and dust can fly at high speeds from power saws. Standard glasses aren't sufficient—use ANSI Z87.1 rated safety eyewear.
- Dust mask or respirator: Fine vinyl particles can irritate respiratory systems. An N95 mask provides adequate protection for occasional cutting; use a respirator for extended work.
- Hearing protection: Power saws produce noise levels of 95-110 decibels, well above the 85 dB threshold for hearing damage. Use earplugs or earmuffs rated for at least 25 dB reduction.
- Work gloves: Protect your hands from sharp edges, but avoid loose-fitting gloves that could catch in saw blades. Grip-enhanced work gloves provide the best combination of protection and control.
Workspace Safety
Set up your cutting area in a well-ventilated space with adequate lighting. Keep the work zone clear of tripping hazards and ensure power cords are secured and away from the cutting path. Never cut vinyl panels while holding them in your hands—always use a stable surface or sawhorses. When using a circular saw, ensure the cord trails behind you to prevent accidental cutting. According to workplace safety data, properly secured workpieces reduce cutting accidents by over 60%.
Special Cutting Techniques for Specific Situations
Cutting Vinyl for Sloped Terrain
Installing fence on slopes requires cutting panels at angles to follow the ground contour. There are two primary methods: stepped installation and racked installation. For stepped installations, panels remain level while posts are cut to different heights—this requires careful measurement of each post location. Racked installations involve cutting both the top and bottom rails at matching angles, typically between 5-20 degrees depending on slope severity. Use a digital level or angle finder to measure the exact slope, then transfer this angle to your miter saw for cutting rails.
Creating Curved Fence Lines
Curved fences require cutting panels into progressively narrower segments. Rather than trying to bend vinyl panels, which can crack, create the curve using multiple shorter panel sections set at slight angles. Each panel typically needs angled cuts on both edges to form the curve. Mark your intended curve on the ground using string and stakes, then measure the angle between each post location. A compound miter saw allows you to cut both the angle and bevel simultaneously for perfect curved connections.
Notching Around Obstacles
When panels must fit around trees, utility boxes, or other obstacles, create notches using a combination of straight and curved cuts. Mark the obstacle outline on the panel using a template made from cardboard. Use a jigsaw to cut the curved portions and a circular saw for straight edges. For precise fitting, cut the notch slightly smaller than needed, then gradually expand it with a file or sandpaper until achieving a perfect fit.
Blade Maintenance and Replacement
A sharp blade is essential for clean vinyl cuts. Dull blades cause several problems: increased melting from friction, rough edges requiring more finishing work, and greater physical effort during cutting.
Signs Your Blade Needs Replacement
- Visible melting along cut edges rather than clean slices
- Increased chipping or rough edges on the finished side
- Burning smell during cutting from excessive friction
- Need for increased pressure to push the saw through material
- Visible damage to blade teeth or missing carbide tips
Extending Blade Life
Clean your blade after every major project using a degreaser or specialized blade cleaner to remove accumulated vinyl residue. Store blades in protective cases to prevent tooth damage. A quality carbide-tipped blade can cut approximately 500-800 linear feet of vinyl fencing before requiring replacement, but this varies based on material thickness and cutting conditions. Professional installers often have blades professionally sharpened rather than replacing them, which can restore cutting performance at about 30% of the replacement cost.
Cost Considerations and Tool Investment
Understanding the economics of cutting vinyl fence helps you make informed decisions about tool purchases versus rentals or hiring professionals.
| Option | Typical Cost | Best For |
|---|---|---|
| Quality Circular Saw + Blade | $100-$200 | DIY projects, multiple uses |
| Miter Saw + Blade | $150-$400 | Precision cuts, regular use |
| Tool Rental (per day) | $40-$75 | One-time projects |
| Replacement Blades | $25-$60 | Every 500-800 linear feet |
| Professional Installation | $15-$40 per linear foot | Large projects, no tools |
For a typical 150-foot residential fence project, purchasing tools makes economic sense if you value them at more than the rental cost. A homeowner installing their own 150-foot vinyl fence can save approximately $2,000-$4,500 in labor costs by doing the cutting and installation themselves, making the tool investment worthwhile even for a single project.
Troubleshooting Common Cutting Problems
Melted or Rough Edges
This common problem stems from blade dullness, cutting too fast, or using incorrect blade types. The solution involves replacing or sharpening your blade, reducing cutting speed, and ensuring you're using a fine-toothed blade with 60+ teeth. If melting persists even with a new blade, try spraying the cutting area with water or cutting fluid designed for plastics to reduce friction heat.
Chipping on the Finished Surface
Chips typically occur when the blade exits the material or when cutting with the finished side down. Always position the visible side facing up when using a circular saw. For miter saws where the blade cuts downward, place the finished side down. Apply painter's tape along the cut line on the finished side—this supports the material fibers and reduces chipping by approximately 50%.
Crooked or Wandering Cuts
Cuts that don't follow your marked line usually result from inadequate support, improper blade depth, or pushing the saw rather than guiding it. Use a straightedge clamped to the panel as a cutting guide for your saw's base plate to follow. Ensure both sides of the cut are fully supported and that your blade depth is set correctly—too shallow causes wandering, while too deep reduces control.
Cracking During Cutting
Cracks indicate the vinyl is too cold, the blade is dull, or you're applying excessive pressure. Allow cold panels to warm to at least 60°F before cutting. Use a sharp blade and let the saw's weight do most of the work. If working in unavoidably cold conditions, make several shallow scoring passes rather than one deep cut to reduce stress on the material.
