 WELCOME TO HANGZHOU FANTAI PLASTIC CO., LTD.
  0086-180 5608 2316
 sales@fentechfence.com
 English
  中文简体
中文简体



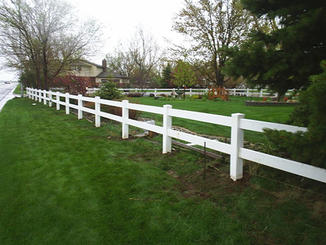
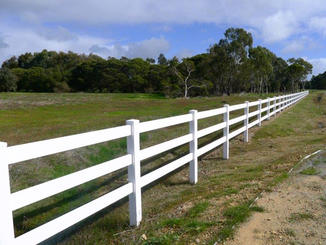
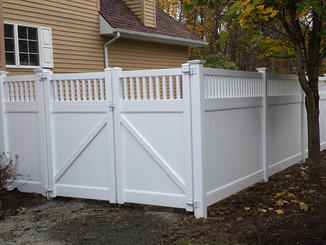
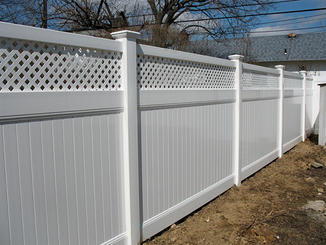
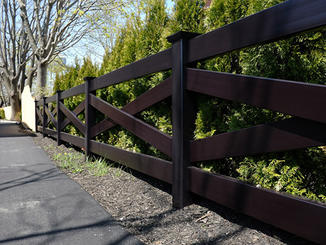
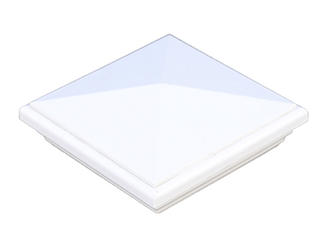
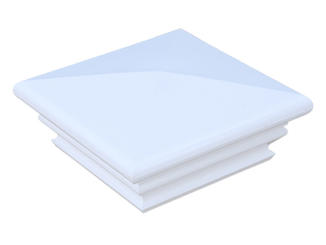
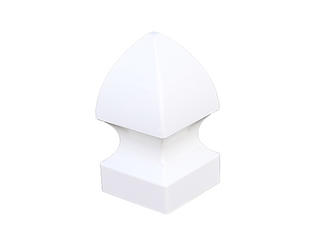
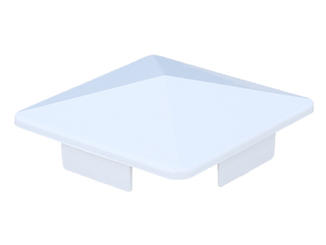
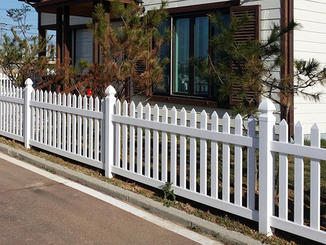

We are professional China Custom Vinyl Fence Manufacturers with fences virgin PVC/Vinyl material and UV Protected.
Content
- 1 A Fence That Outlasts the Mortgage
- 2 What a Vinyl Fence Panel Actually Is
- 3 Panel Styles That Match Your Priorities
- 4 Vinyl vs. Wood vs. Metal: The Numbers Don't Lie
- 5 Five Questions That Separate the Right Panel from the Wrong One
- 6 Getting the Installation Right (Even Before You Dig)
- 7 What You'll Actually Pay
- 8 The Six-Word Maintenance Plan
- 9 Mistakes That Turn a Good Fence Into a Liability
- 10 The Bottom Line
A Fence That Outlasts the Mortgage
A homeowner in Houston stood staring at his third wooden fence in 15 years—splitting posts, termite trails, and gray weathered boards that no amount of stain could revive. He replaced it with vinyl. Three years later, it looked factory fresh, and he hadn't touched a paintbrush. That's the reality behind vinyl fence panels: a structural skin for your property that demands nothing from you but an occasional rinse.
Still, panels aren't interchangeable. Differences in material composition, panel design, and manufacturing quality separate the units that sag after one winter from those that stay plumb and white for decades. This guide breaks down exactly what matters—without the fluff.
What a Vinyl Fence Panel Actually Is
Each panel is an engineered plastic assembly, typically from rigid polyvinyl chloride (PVC) modified with ultraviolet inhibitors, impact modifiers, and titanium dioxide for color stability. Recycled content can reach 40% in some formulations, though premium panels use virgin PVC to maintain structural integrity over wide temperature swings. The panel's thickness—measured in mils or actual wall gauge—dictates how it handles wind loads and accidental bumps.
Unlike wood, vinyl never absorbs moisture, so it won't rot, split, or attract insects. The material expands and contracts with temperature, which competent installation accommodates through floating post mounts and slotted brackets. Cheap panels skip those details; good ones bake them into the design.
Panel Styles That Match Your Priorities
Choosing a panel type isn't just about looks—it directly affects privacy, light transmission, and wind behavior. The most common configurations you'll encounter:
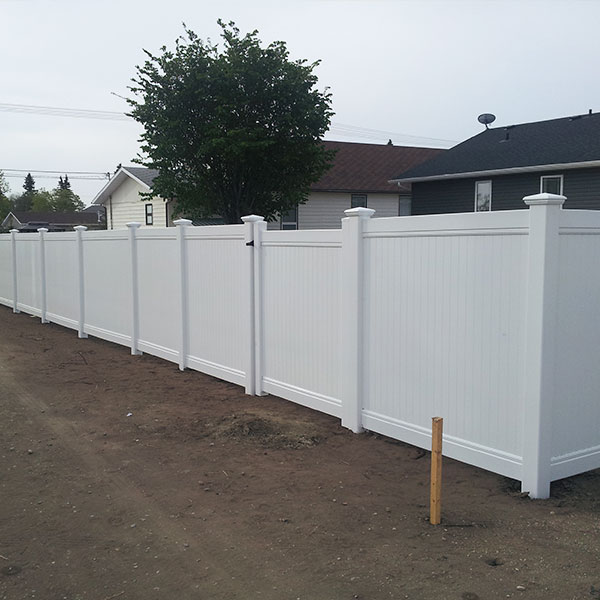
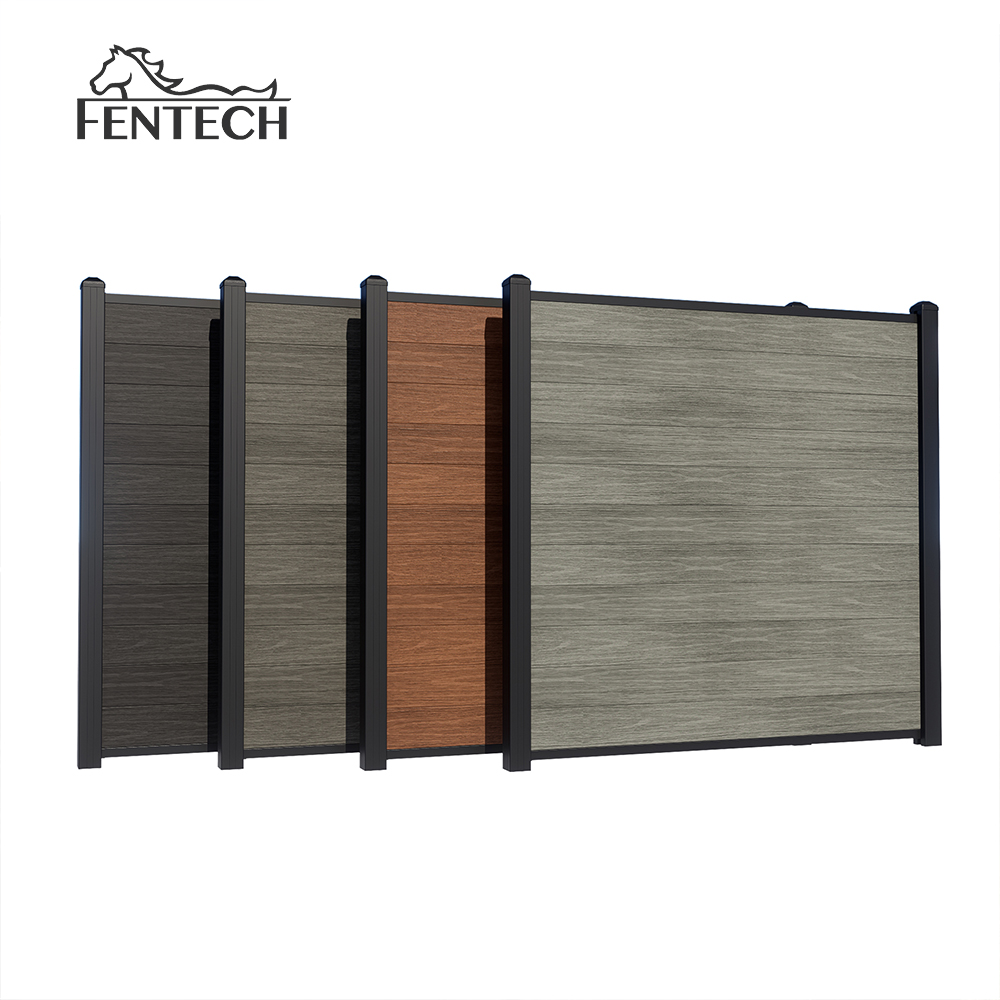
- Privacy panels: Solid vertical boards, no gaps, complete block from the outside. Standard heights range from 4 to 8 feet.
- Semi-privacy panels: Narrow spacing between slats (usually 1/4 to 1/2 inch). You get filtered views and better airflow, ideal for windy zones.
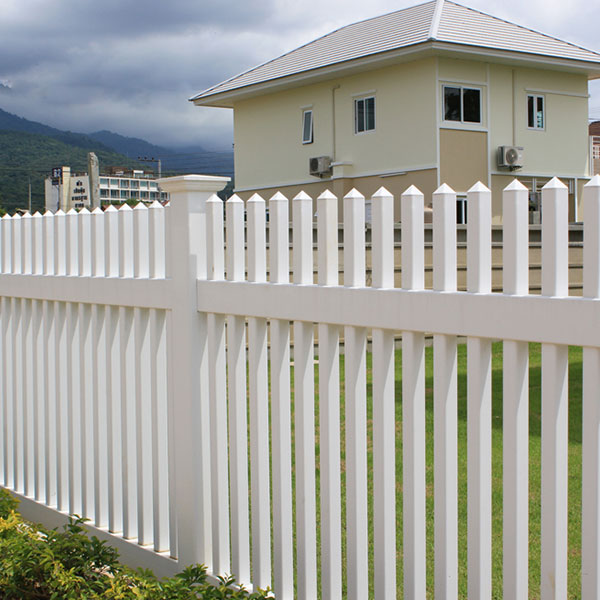
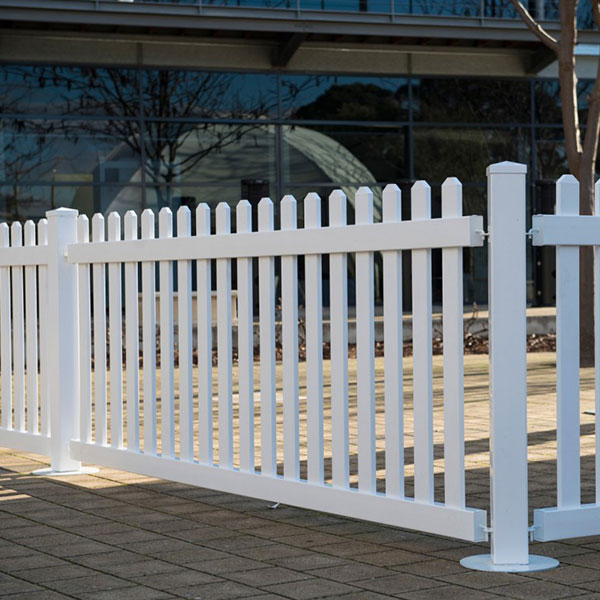
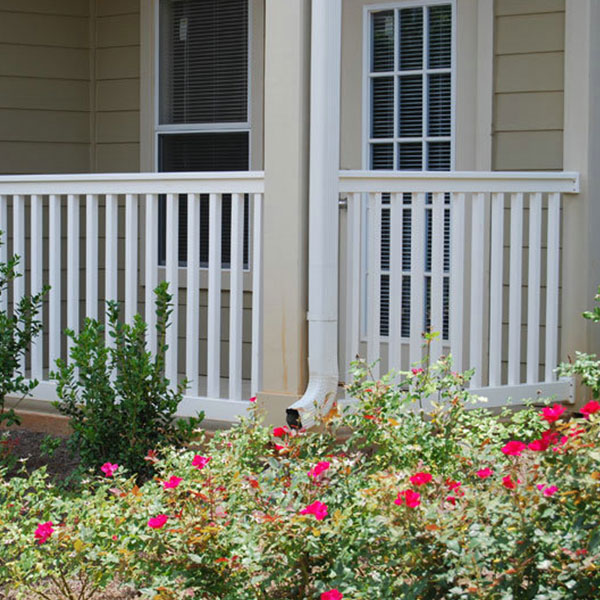
- Picket panels: Traditional spaced pickets, often with a dog-ear or spear top. Less screening but classic curb appeal.
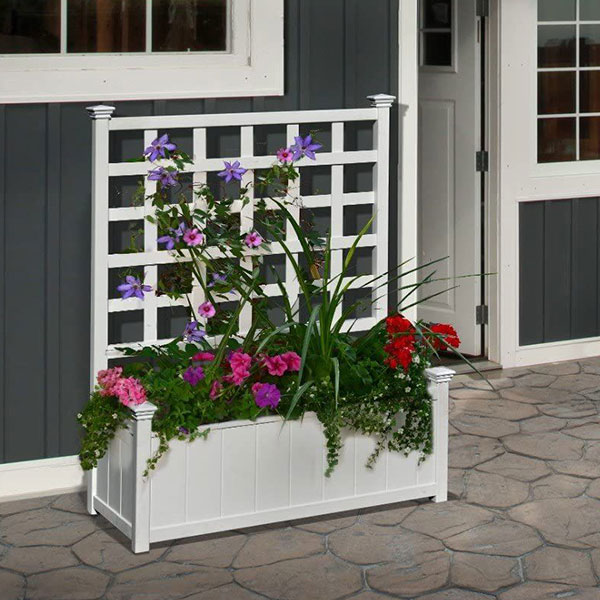
- Lattice-top panels: A solid bottom section topped with a decorative crisscross lattice. Balances privacy and architectural interest.
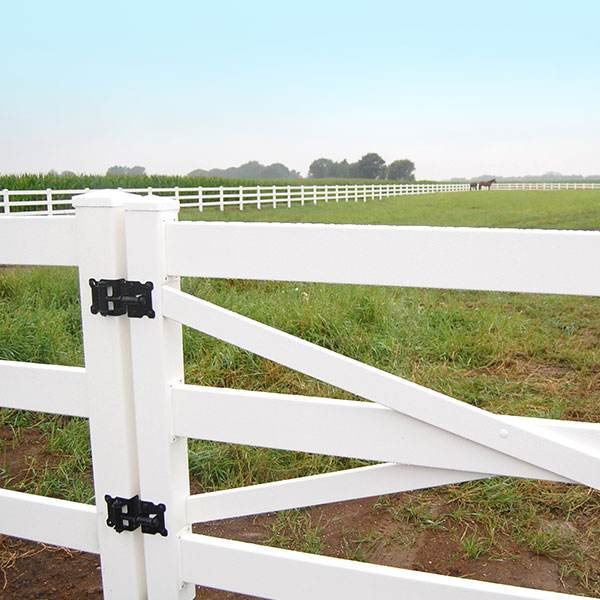
- Post-and-rail panels: Two or three horizontal rails with no infill. Common for rural property lines where sight lines are intentional.
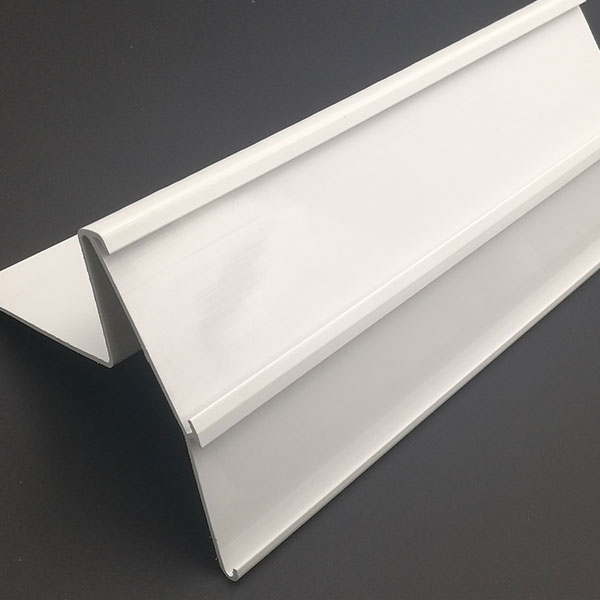
For full screening with zero gaps, the deep-groove privacy profile uses interlocking tongues to eliminate sight lines entirely. If you need a matching entry point, a vinyl fence gate in the same fascia style keeps the perimeter seamless.
Vinyl vs. Wood vs. Metal: The Numbers Don't Lie
Any fence is a long-term economic decision. When you factor in maintenance, lifespan, and disposal, the upfront price difference shrinks dramatically. Here's how the three primary options compare across the metrics that actually cost you money.
| Attribute | Vinyl | Cedar Wood | Aluminum |
|---|---|---|---|
| Annual maintenance (materials & labor) | $0 – occasional power wash | $2–$5 per linear foot every 2–3 years | $0 – occasional touch-up paint |
| Typical service life | 20–30+ years | 12–18 years | 15–25 years |
| Rot/insect resistance | Immune | Requires chemical treatment | Immune |
| Material + install cost (per linear ft) | $25–$50 | $18–$40 | $30–$60 |
| Wind resistance (up to, with proper install) | 130 mph (certified systems) | 80–100 mph | 120+ mph |
On a 10-year horizon, vinyl often comes out cheaper than stained cedar because the labor to re-stain wood every two years erases the initial material savings. For homeowners in humid or termite-prone regions, the gap widens further.
Five Questions That Separate the Right Panel from the Wrong One
Not every panel on the market will hold up. Before you buy, run through this checklist—it's what building inspectors and professional installers actually look for.
1. What's the wall thickness?
Look for a panel thickness of at least 0.065 inches (65 mil) on body walls and 0.100 inches on critical structural rails. Anything thinner will flex noticeably under a 6-foot span and may warp within five seasons.
2. Is the UV protection baked in, not sprayed on?
Panels with integral titanium dioxide throughout the extrusion have 10–15 years of colorfastness. Surface-applied UV coats fade unevenly and peel. Ask for capstock co-extrusion with the color layer through the entire cap.
3. What wind load rating does the system carry?
Manufacturers that test their panels to ASTM standards will publish a wind rating. Coastal and plains states need panels rated to at least 110 mph when installed with aluminum or thick-gauge galvanized reinforcement inside posts.
4. Does the locking system handle thermal movement?
Vinyl expands longitudinally by about 1/8 inch per 6-foot panel for every 20°F change. Quality rails use slotted routings and floating brackets so the panel can grow and shrink without buckling or pulling posts out of plumb.
5. Are the posts reinforced?
Gate posts and corner posts must accept a structural insert—an aluminum or steel stiffener that carries the load. A hollow vinyl post without reinforcement will lean within the first year under gate weight or wind pressure.
Getting the Installation Right (Even Before You Dig)
Vinyl fence performance is half material, half method. The best panel installed poorly will fail like a cheap one. The installation sequence you can't afford to skip:
- Call 811 to mark underground utilities before any excavation.
- Set concrete footings below frost depth—36 inches in northern climates. Posts must rest on compacted gravel for drainage.
- Use a string line and laser level to align post centres exactly. The panel's pre-punched rails won't forgive a 1/2-inch error.
- Slide in lower rail, then slats, then top rail—most panels assemble without visible fasteners. Lock each component before adding the next.
- Pour quick-setting concrete around the post (leave the top 2 inches for soil). Brace and leave for 24 hours before attaching adjacent panels.
- For gates, install the post stiffener and block before the concrete sets. The vinyl gate's hinges demand a rigid anchor.
DIY installations save $15–$25 per linear foot but assume all risk for alignment and warranty. Most manufacturers void coverage on posts that aren't set in concrete. If your lot has dramatic grade changes, racked (angled) panels or stepped transitions are non-negotiable—standard panels installed on a slope will twist.
What You'll Actually Pay
National averages smooth over wide regional differences. Based on mid-range quotes in 2026 markets, here's a real-world cost table for a 150-foot perimeter with two gates.
| Item | Low Range | High Range |
|---|---|---|
| Privacy vinyl panels (6 ft high) | $3,600 | $7,200 |
| Posts, concrete, reinforcement | $1,200 | $2,400 |
| Two vinyl gates with hardware | $800 | $1,500 |
| Removal of existing fence | $750 | $1,500 |
| Labor (pro installation) | $3,750 | $7,500 |
| Total project range | $10,100 | $20,100 |
Buying panels from a wholesale supplier and installing yourself cuts roughly 40% from the total, but the quality risk is entirely yours. Financing rates through home improvement financing partners are averaging 7–9% APR for creditworthy borrowers this year.
The Six-Word Maintenance Plan
Wash with mild soap and water. That's it. A soft-bristle brush and a garden hose remove airborne grime, pollen, and mildew. No painting, no staining, no sealers. For tough mold spots, a 30-second spray of a bleach-free vinyl cleaner restores the surface. The one thing you must do: keep soil and mulch pulled back 2 inches from the bottom rail to prevent trapped moisture from causing discoloration at the ground line.
Beyond washing, annually inspect posts for plumb, especially after frost heave cycles. Retighten gate hinge bolts if they've loosened. A panel system that uses internal stiffeners can survive decades without sagging. First-year settling is normal—the panel should sit dead level within 90 days of installation.
Mistakes That Turn a Good Fence Into a Liability
Watch for these miscalculations—they're surprisingly common, even on custom builds.
- Choosing the thinnest panel to stretch the budget: wall thickness below 0.065" leads to rippling in direct sun.
- Installing posts without gravel at the base: trapped water freezes, heaves the post, and cracks the concrete.
- Not accounting for expansion: rails butted tightly against posts will buckle; allow a 1/4-inch gap at each end.
- Mixing panel brands: even the same "white" varies between manufacturers; a patchwork fence shows seams you can't hide.
- Ignoring wind load certification in hurricane zones: panels that blow out become projectiles.
With so many vinyl fence profiles available, matching an existing HOA specification or architectural style is rarely the limiting factor. The real decision lies in picking a system engineered for your climate, not just the lowest price per panel.
The Bottom Line
Vinyl fence panels earn their keep through a deceptively simple value proposition: install them once, clean them occasionally, and expect them to function for two decades or more. The upfront cost is middle-of-the-road among fencing options, but the near-zero operating cost pushes it ahead when you look at total cost of ownership. The catch? You must buy panels with proper thickness, UV protection, and a thermal expansion design—and you must insist on installation that respects those engineering requirements. Do that, and the fence you install today will still be standing when today's saplings are full-grown trees.
 No. 142 Xinxiqiao, Linan, Hangzhou City, Zhejiang Province, 311300, China
 0086-180 5608 2316
 sales@fentechfence.com